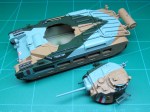


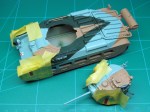
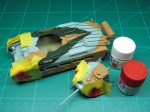

Normally I would not make much comment about the decals. However, following a coating with Quick Shine, I found that the vertical white and red stripe decals were not settling too well. On the turret I had to make small cuts in them to fit around the turret attachment holes. On the hull the decals covered deep bolt holes which looked weird if I did not pierce the decal at that point. So, it was time to break out the Tamiya tape again! I decided to use the decal as a guide to fill in the gaps with Tamiya XF-2 (Flat White) and Tamiya XF-7 (Flat Red). Somewhat of a hold up, but it had to be done. It looks alright to me now but it reminded me why the last time I encountered these identification stripes I painted them on – albeit imperfectly. Further application of Quick Shine, then Purity Seal satin varnish completed this part of the build.

Leave a comment