
Further steps:
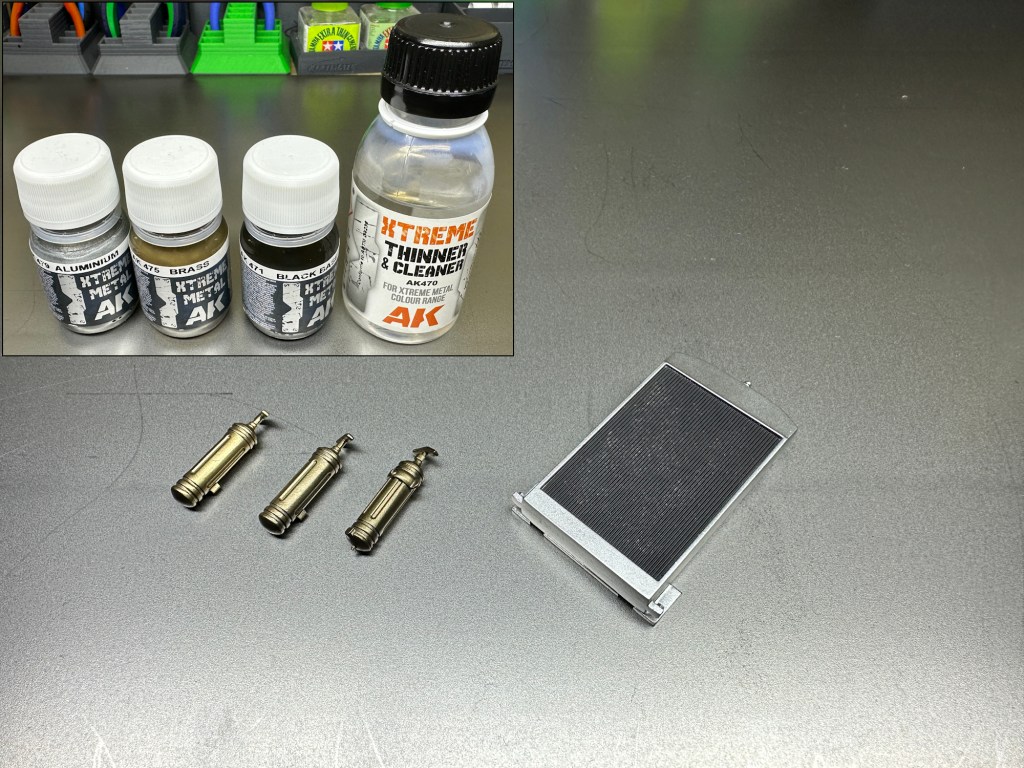
- AK Interactive “Xtreme Metal” paints used for the fire extinguishers and radiator. Sprayed nicely and seemed robust to future weathering. Will use again!
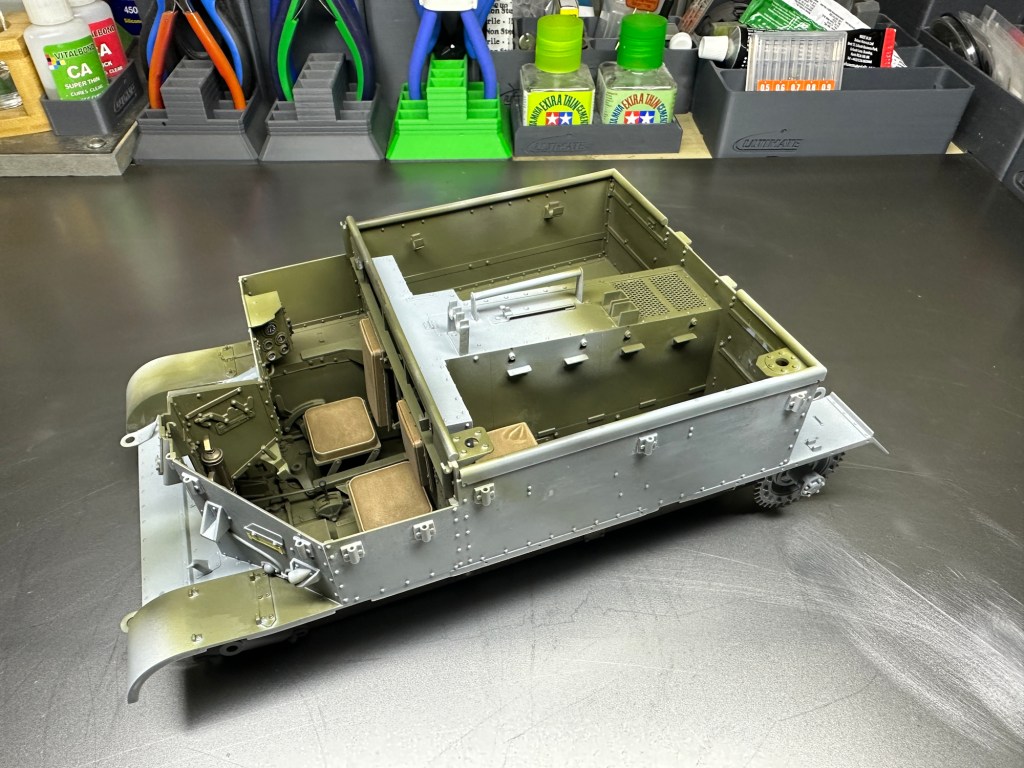
- The cab interior was painted and weathered before attachment to the front. It’s a real mistake that no decals are provided for the dials on the instrument panel – they are quite prominent. Luckily, at this time, I saw someone with the same kit use the Airscale “Royal Air Force Instrument Dial Decals” (1/24 scale). I decided to copy that! They work very well from a distance – it’s a really nice set.
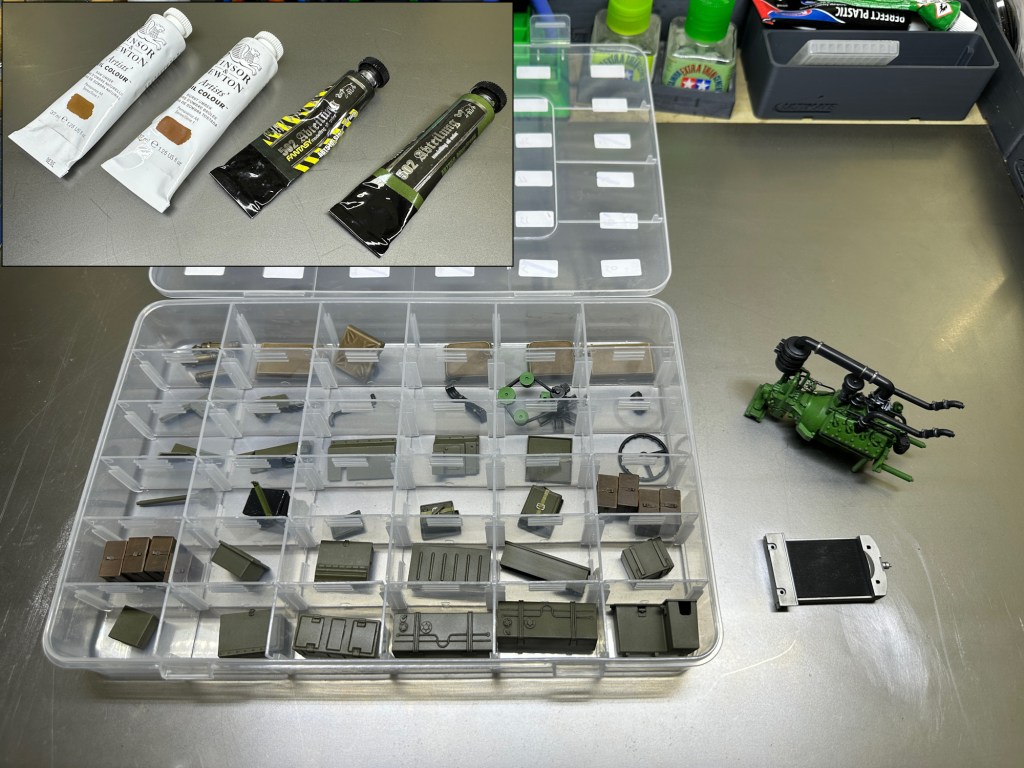
- Many other parts, to be installed before seeing to the outer hull, we weathered with various oil paints.
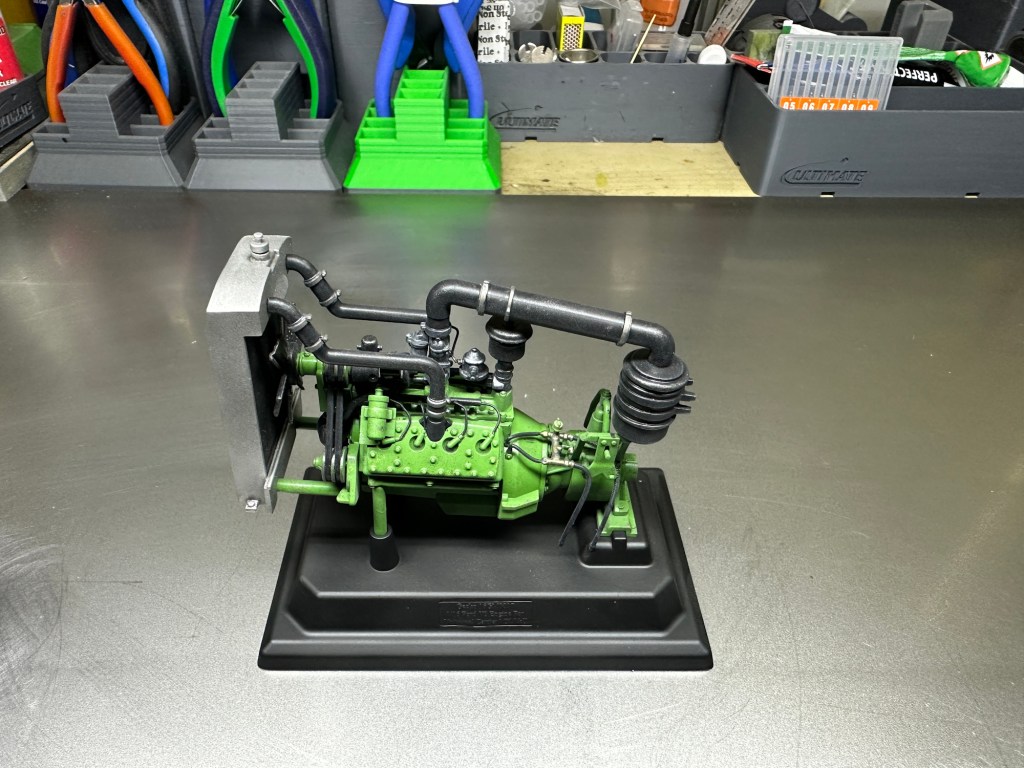
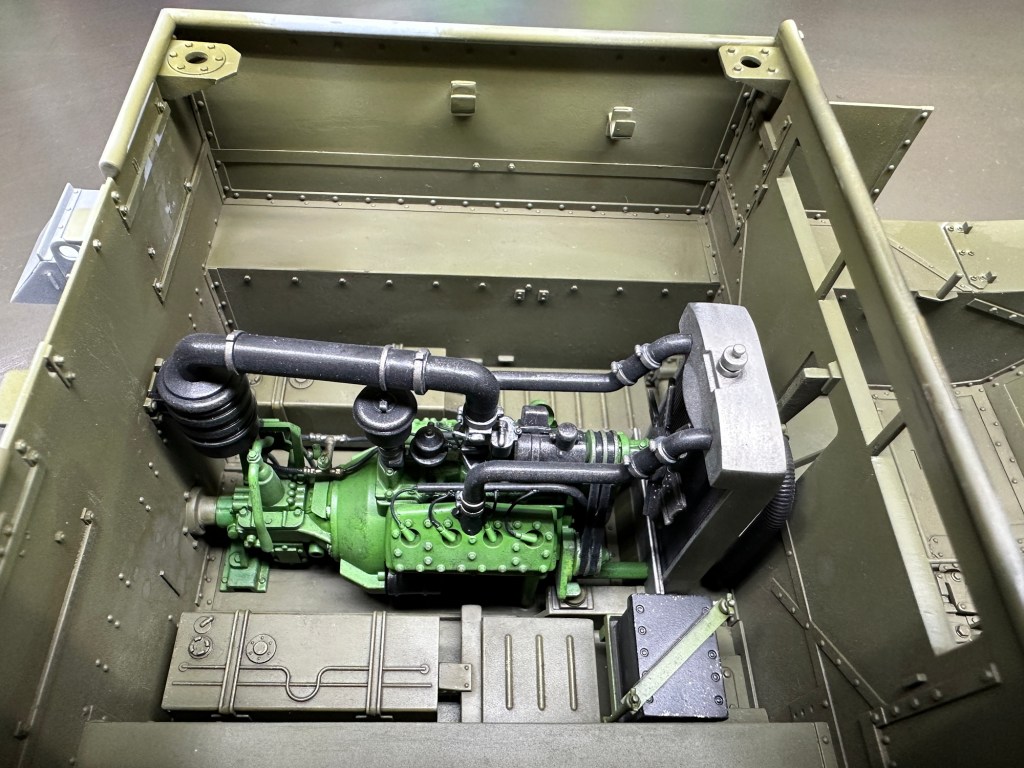
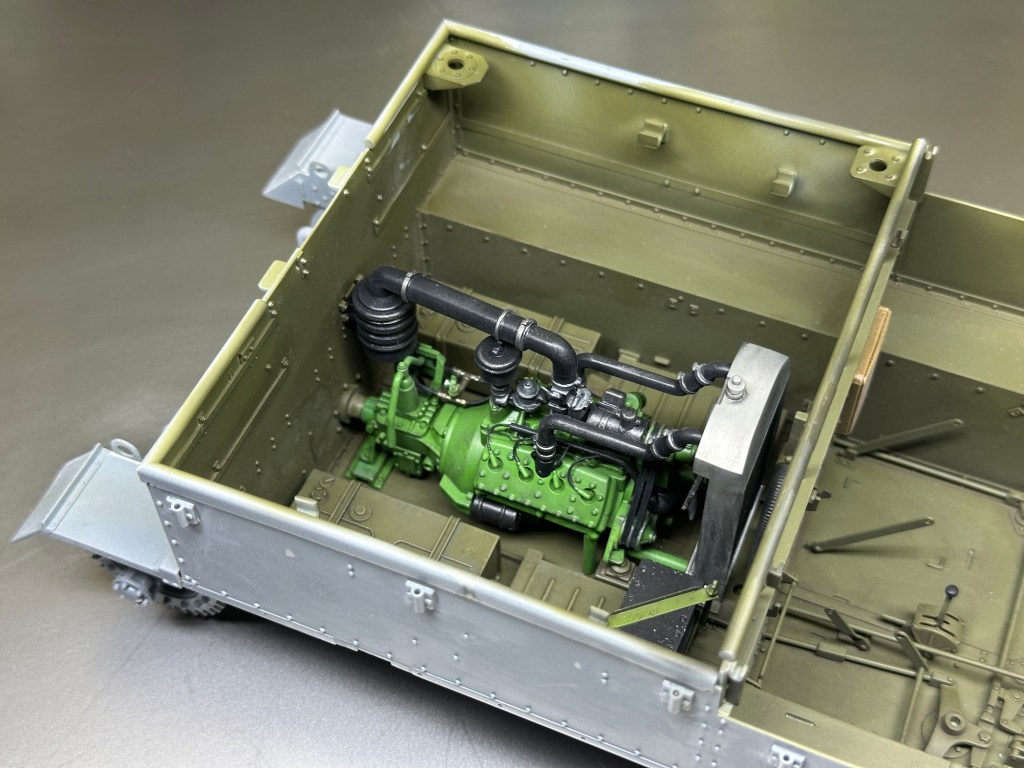
- The engine was put in place. It is, of course, a pity that it will not be seen once the cover is on. Another improvement to this model would be option to have the engine side panels open.
- Many other of the lower parts were added at this stage – fuel tanks, seats, storage boxes, battery,

Leave a comment