


Primer: Tamiya “Fine Surface Primer” spray can
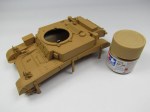
Base coat: A mixture of 80% Tamiya XF-59 “Desert Yellow” and 20% Tamiya X-22 Clear in Tamiya X-20A thinner (ratio 2/3 paint mixture to 1/3 thinner).
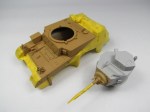
Camouflage colour 1: A mixture of 80% Tamiya XF-23 “Light Blue” and 20% Tamiya X-22 Clear in Tamiya X-20A thinner (ratio 2/3 paint mixture to 1/3 thinner).
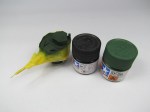
Camouflage colour 2: A mixture of 80% Tamiya acrylics (ratio 5 parts XF-26 “Deep Green”, 1 part XF-1 “Flat Black”) and 20% Tamiya X-22 Clear in Tamiya X-20A thinner (ratio 2/3 paint mixture to 1/3 thinner).
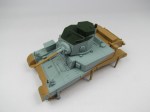
I followed the same colour scheme as the Matilda tank, well aware that some of these colours are most likely wrong.
Finally, a spray of the entire vehicle with a dilute (5%) mixture of Tamiya XF-57 “Buff” – to ‘dampen down’ the colours somewhat.
Details:
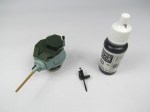
- tools (Vallejo Panzer Aces “New Wood” 311, Vallejo Model Color “Black” 70950)
- headlights (Games Workshop “Chainmail”)
- rear lights (Games Workshop “Blood Red”)
- machine guns (Vallejo Model Color “Black” 70950)
- tyres (Vallejo Model Color “Black” 70950)

Leave a comment