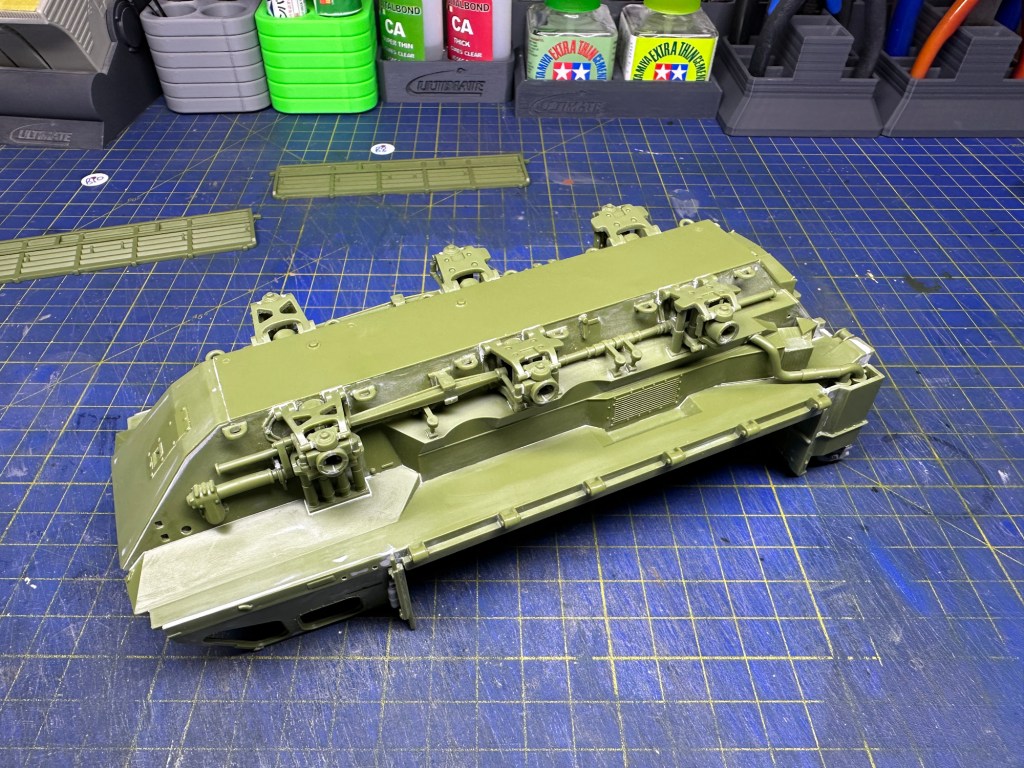


I must say at the start that I have read a good deal of nonsense commentary on this kit, or rather heard, as most of it emanated from various YouTubers. The thrust of it concerned sink holes being present in parts of the kit, especially around the cab area. Yes, there were some on mine. And, yes, you can deal with it by using filler! That’s really all that needed to be said. People looking for moulding perfection should perhaps limit themselves to building Lego kits. At least, some should really spend more time building kits rather than talking about them! Anyway, in my opinion, this is not a beginner’s kit, so a certain amount of modelling skill will be required to finish it to a decent standard.
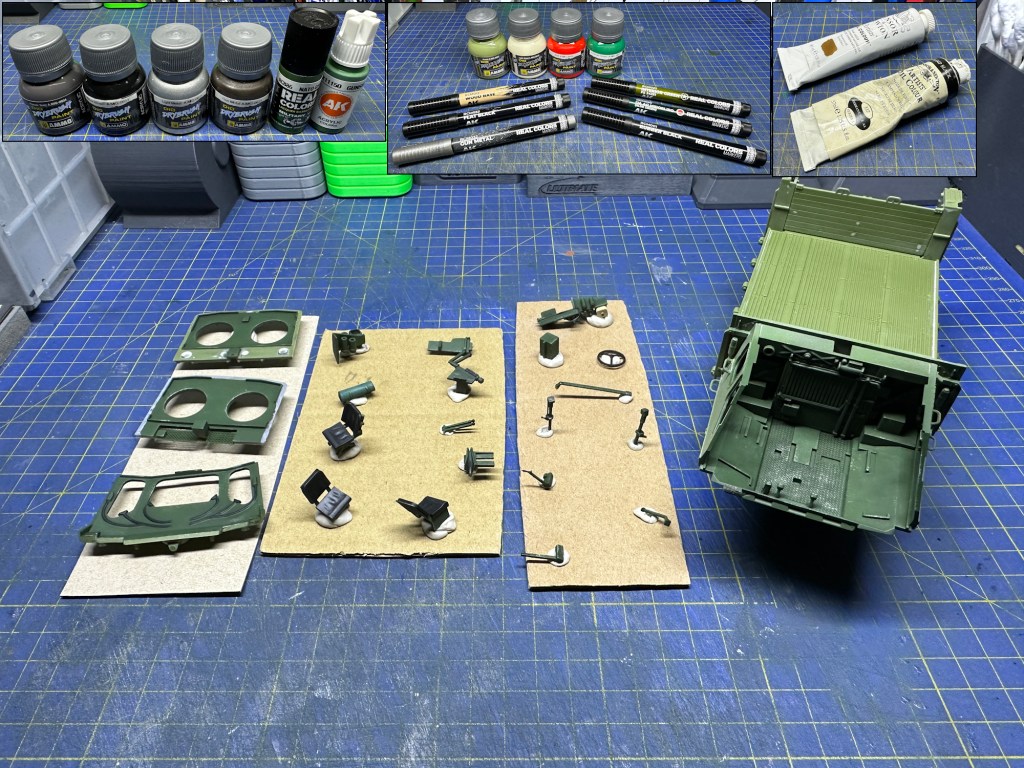
That said, I did use replacement parts in some areas, all from https://www.insidethearmour.com/. The principle reason was to replace the admittedly poorly done exhaust cage with a 3D printed version, which was much better. That the part came as a collection of others – I think it is now available separately – meant that I could use some of them too. These were some of the cab interior, the mud flaps, fire extinguishers, headlight guards and the roof panel. I would have been content to use the original roof part – in some ways it fitted better than the replacement – but the latter did have better moulded grills and headlight.
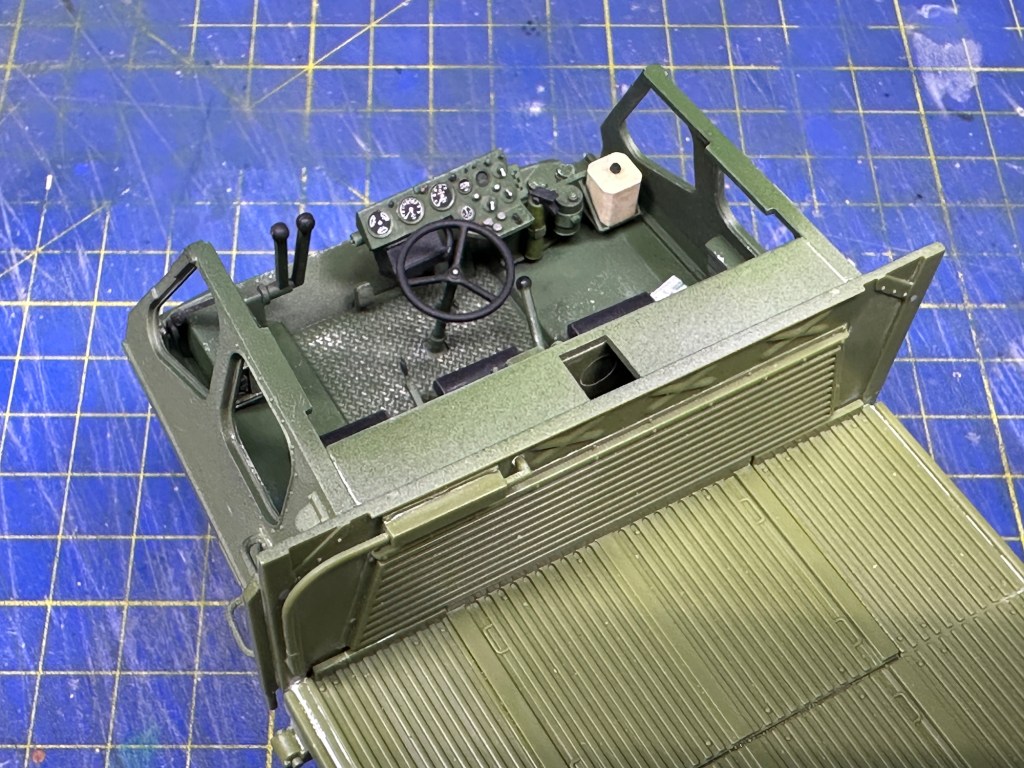
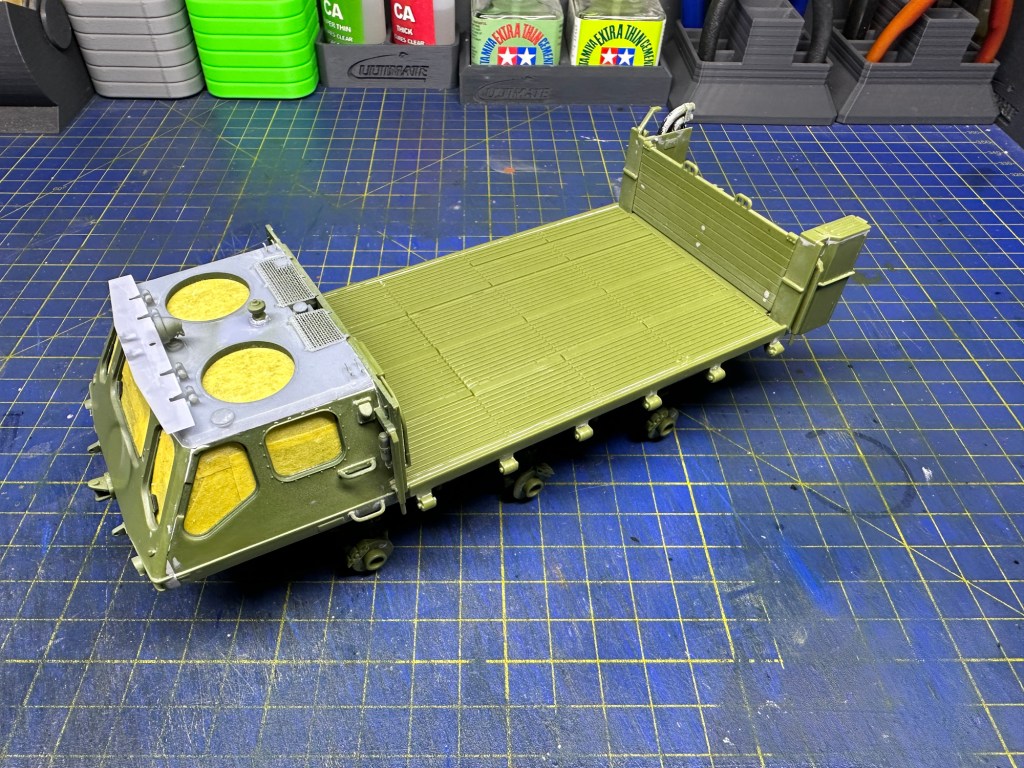
This being a soft skinned vehicle it has a cab interior which had to be assembled and painted first. The principle colour used was AK Interactive Real Colours “NATO Green” (RC886). I think I added a spare bedding roll and a map to the cab to provide some detail. It was then sealed up, in readiness for painting the exterior…

Leave a comment