

For this tank there were a few more steps to do before primer and paint could be applied:
- The clear plastic parts – for the view ports – were sprayed with Tamiya XF-26 “Clear Orange” and then masked.
- The clear plastic parts – for the rear lights – were sprayed with Tamiya XF-26 “Clear Orange” or XF-27 “Clear Red” and then masked.
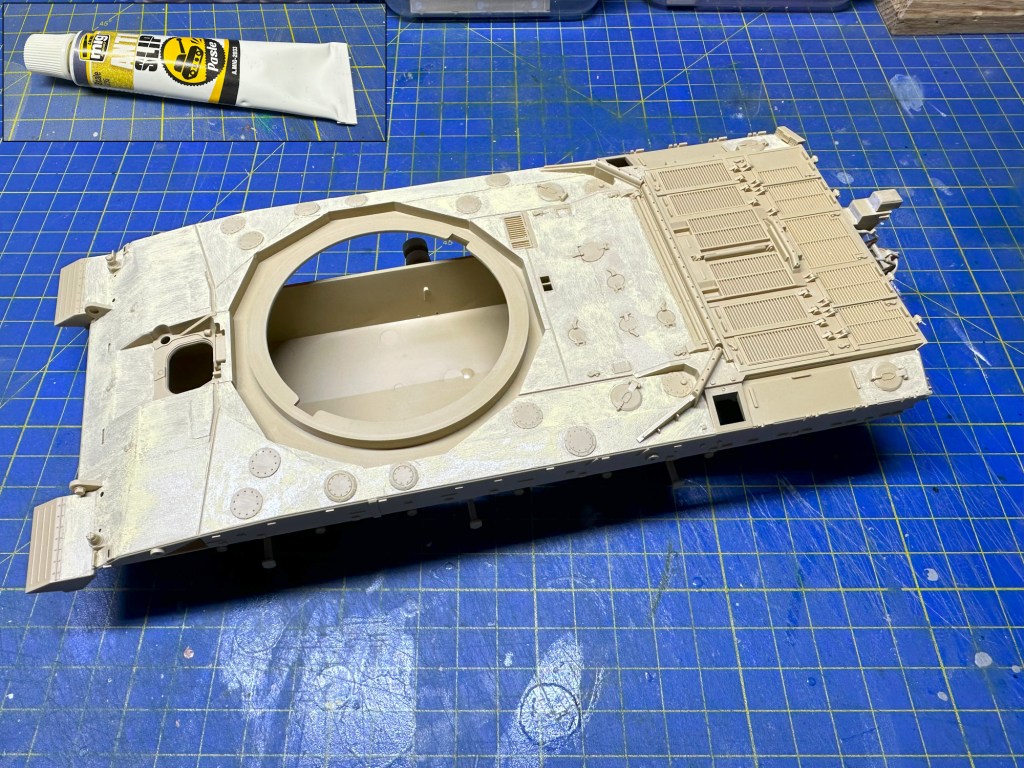
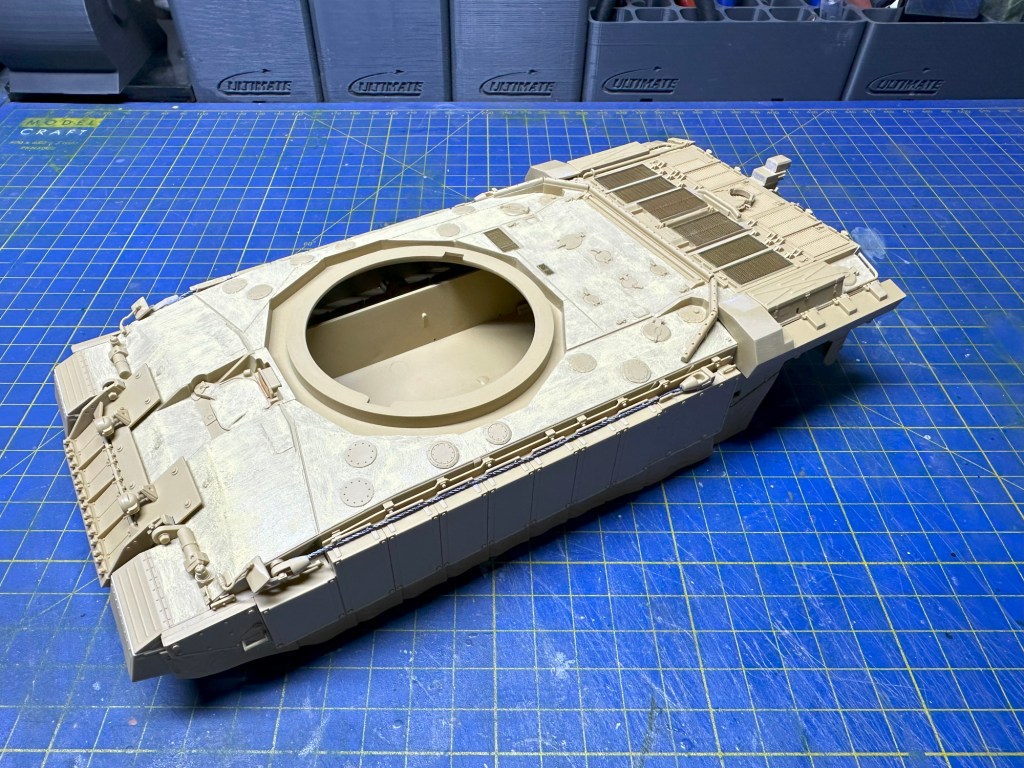
- Many modern vehicles have an anti-slip texture applied. I used AMMO “Anti Slip Paste” (A.MIG-2033), applied by brush. I found that two coats were best. It was fairly easy to clean up when dry. I think the end result looks alright – certainly much better than nothing.
- I was going to use the Fruilmodel tracks (https://friulmodel.hu/termek/atl-163-challenger-2-early-type-track/). But their assembly is quite involved and I realised that so much of them will be invisible due to the side plates. I will keep them for the inevitable Challenger 3 model and use the tracks in the box.

Leave a comment