Skip to content
Skarach's world
About
Model Gallery
1/35th scale armour and other land vehicles
1/76th and 1/72nd scale armour and other land vehicles
1/48th scale armour and other land vehicles
1/16th scale armour and other land vehicles
1/72nd scale aeroplanes
1/48th scale aeroplanes
Miscellaneous
Vehicle Gallery
6/21/2026
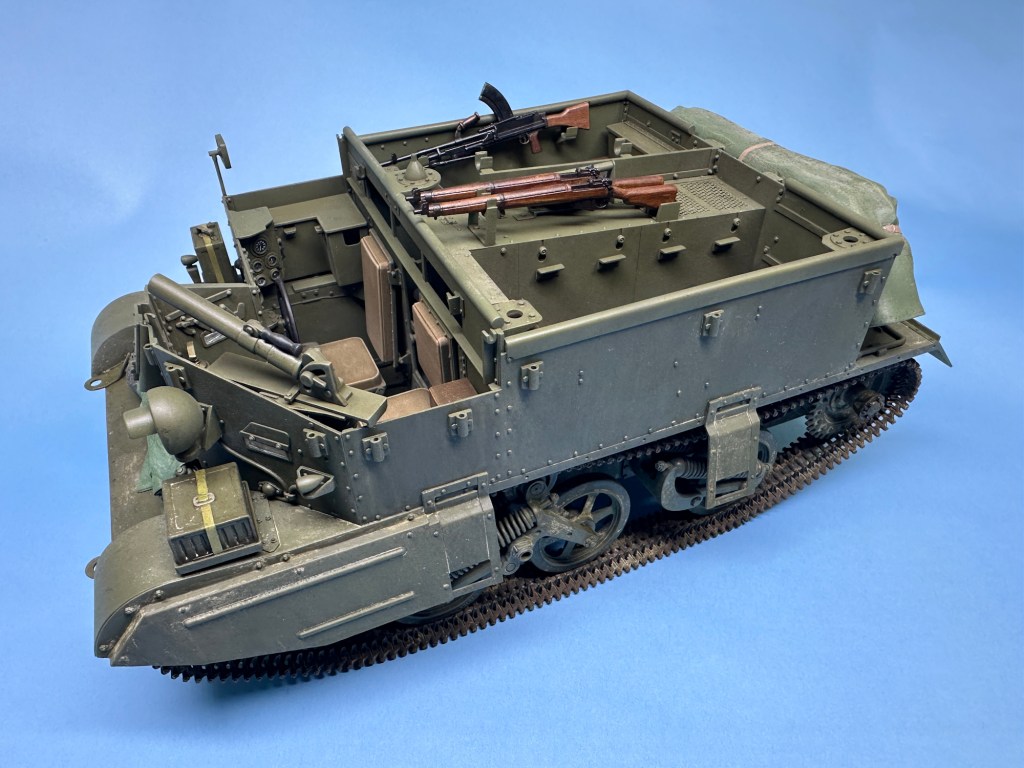
Universal Carrier Mk II
6/21/2026
Universal Carrier Mk II – Part 6:Weathering (exterior)
6/21/2026
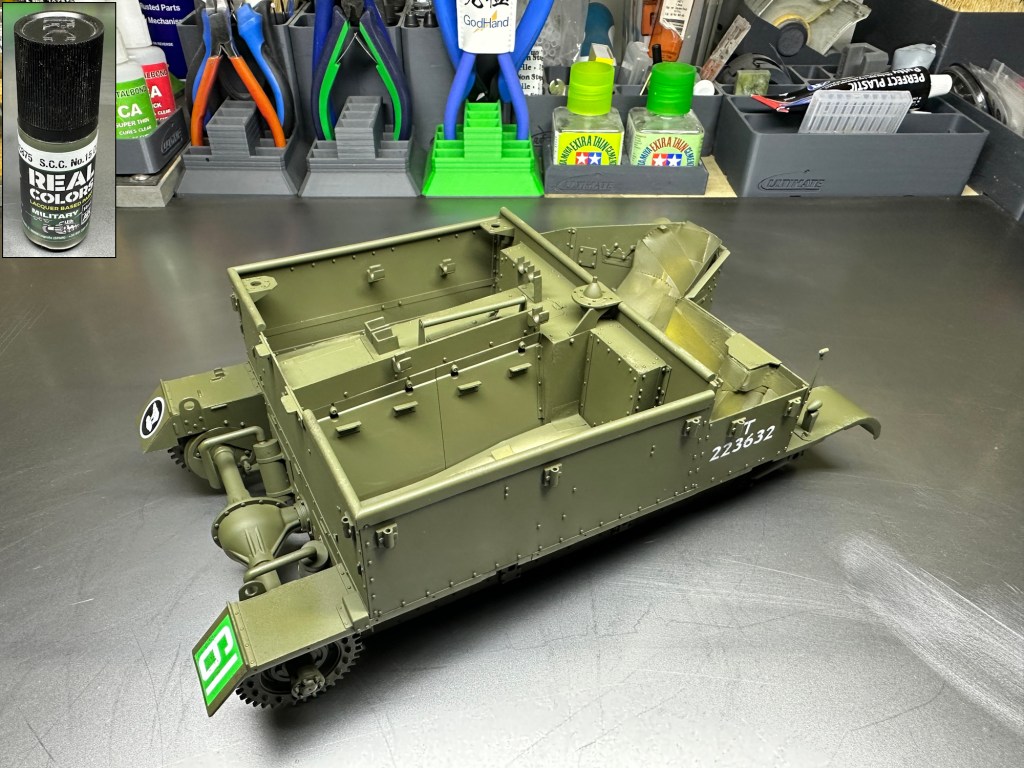
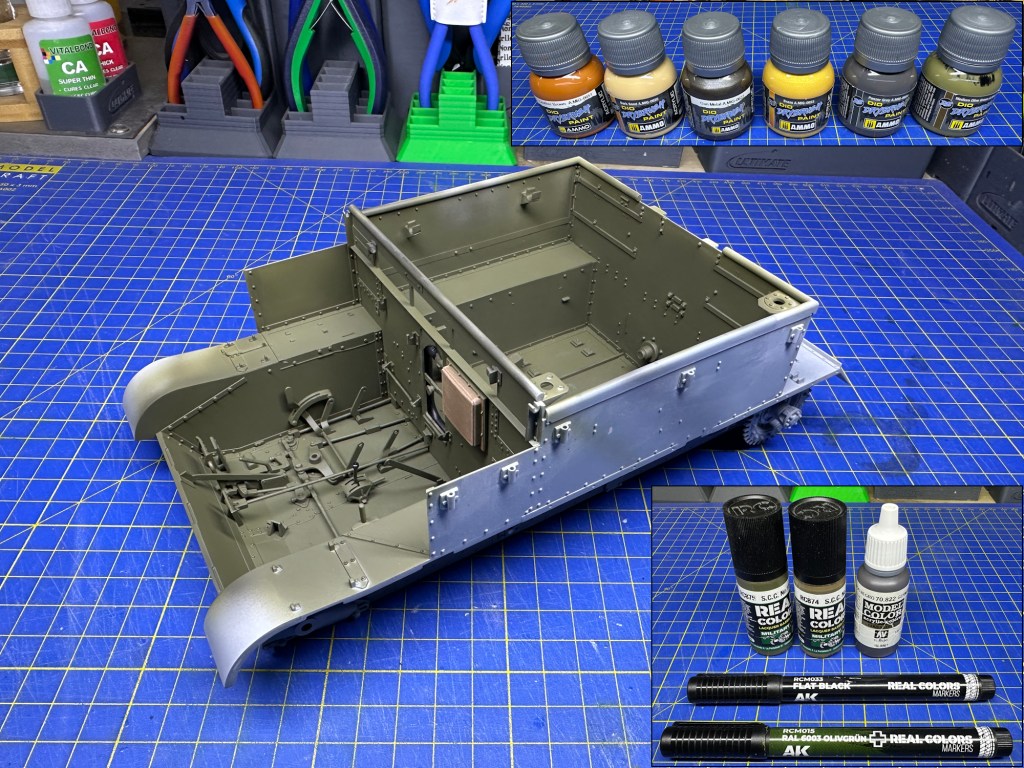
Universal Carrier Mk II – Part 5:Painting (exterior)
6/21/2026
Universal Carrier Mk II – Part 4:Weathering (interior)
5/2/2026
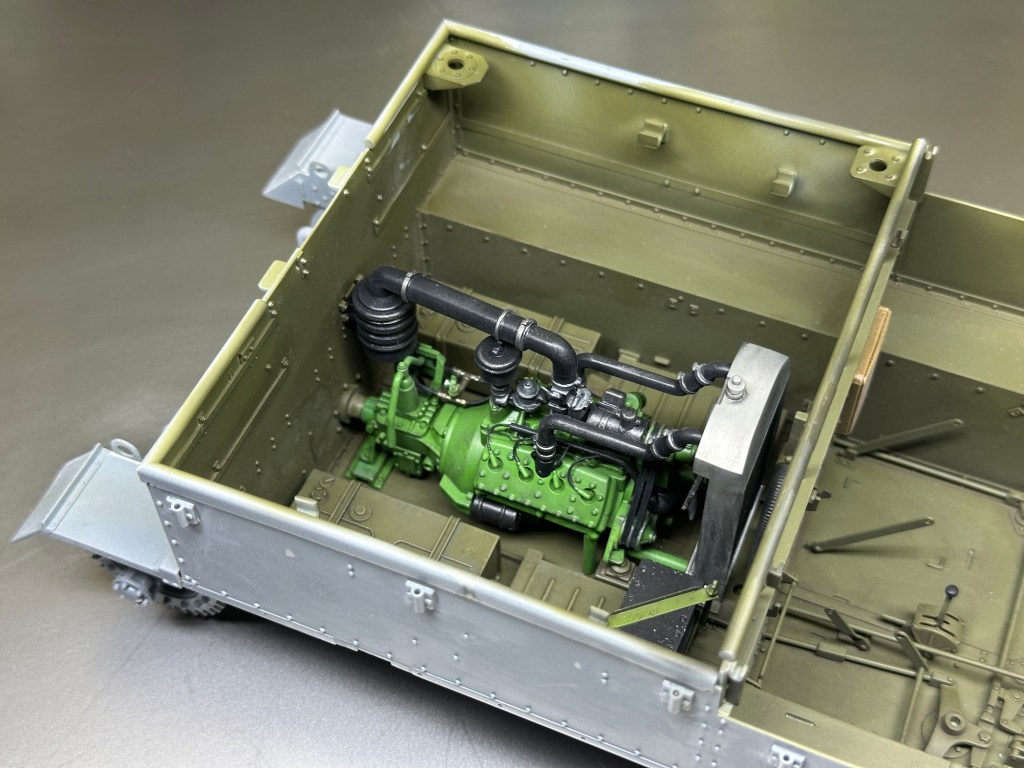
Universal Carrier Mk II – Part 3:Painting (interior)
Blog at WordPress.com.
Next Page
→
Subscribe
Subscribed
Skarach's world
Join 64 other subscribers
Sign me up
Already have a WordPress.com account?
Log in now.
Skarach's world
Subscribe
Subscribed
Sign up
Log in
Report this content
View site in Reader
Manage subscriptions
Collapse this bar